Contributed by Bartosz Makuch, a Freelance Software Copywriter. When he's not writing, he's enjoying listening to classic rock and reading old sci-fi novels. Visit his website at prowriter.biz
IrfanView: Quick Start Guide
So, you decided to try out the IrfanView image viewer and editor. You know it’s fast, intuitive, and powerful. Now, let’s dive in and break down the most basic features.
How to install IrfanView
To start using IrfanView, you first need to install it. You can find the installer on the IrfanView’s download page. Select any provider you like and save the file. And now:
1. First, open the installer.
|
|
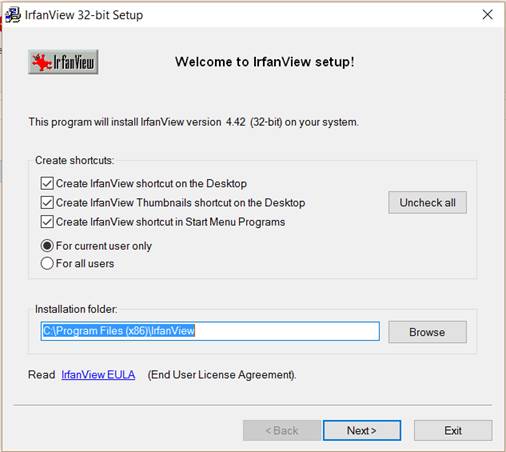
2. Now, choose where to install IrfanView and whether you want to create shortcuts. Click Next.
|
|
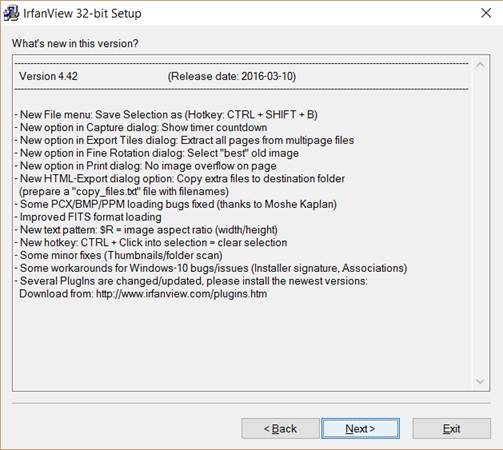
3. You can now see what’s new in the current version of the program. Click Next.
|
|
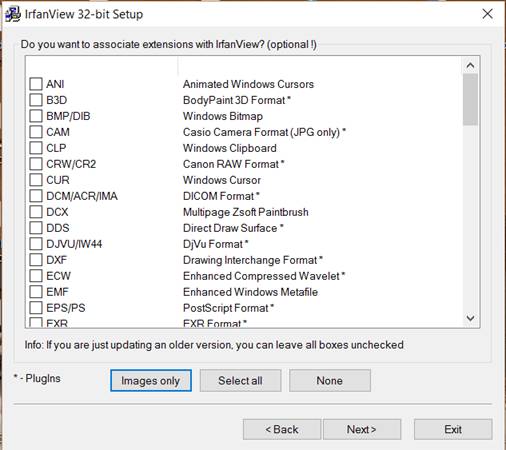
4. Then, you can choose (or leave unchecked) which filetypes you want to be associated with IrfanView (which ones will open in IrfanView when you open them from Windows Explorer). Click Next.
|
|
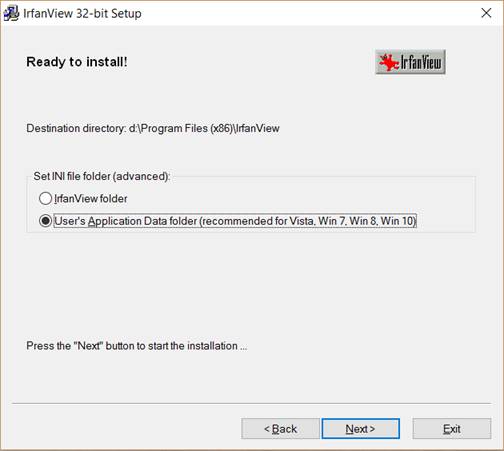
5. Choose where to save the INI file that has IrfanView’s configuration in it. Click Next.
|
|
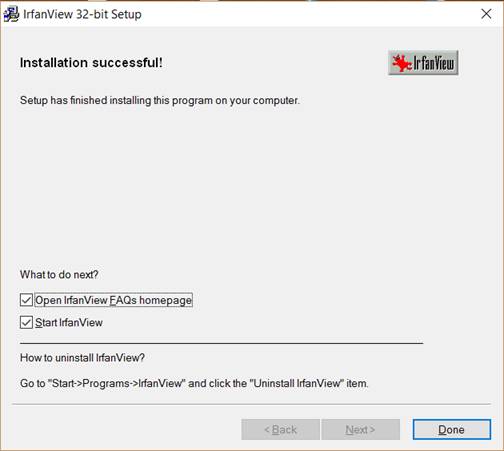
6. Now IrfanView installs. When it is installed, click Done.
How to open and find files in IrfanView
To open a file in IrfanView, once it’s launched:
|
|
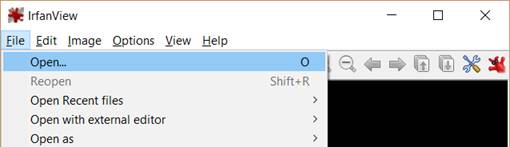
1. First, click File > Open. You can also click an icon with an open folder or just press O.
|
|
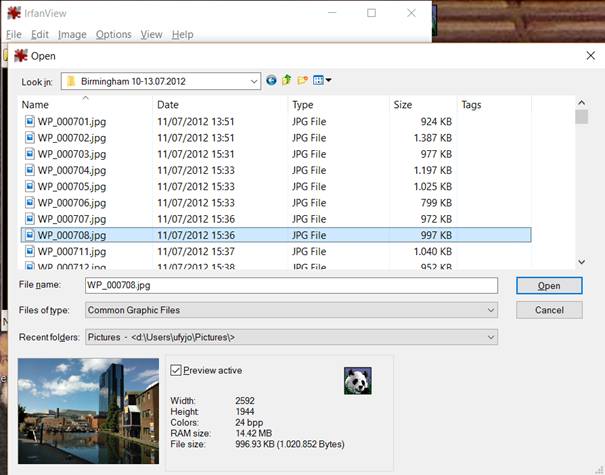
2. Now, go to the directory where the file is saved, select it, and click Open.
IrfanView will automatically read the list of files in the directory of the selected image. That way you can view other files from this folder by pressing left and right arrows on your keyboard or on the program’s taskbar.
|
|

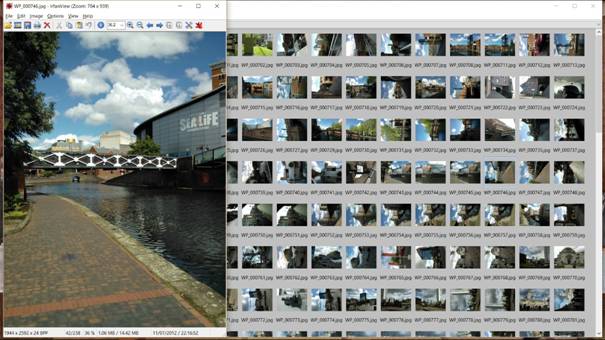
By selecting File > Thumbnails or pressing T you can go to the thumbnail view of the folder and easily explore your collections. To open any of those files, just double-click on it.
Search and find files in IrfanView
|
|

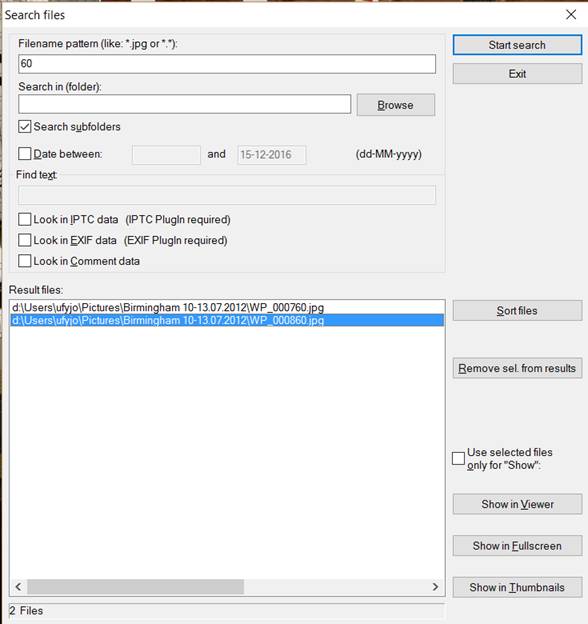
To search for files, go to File > Search files… or press Ctrl+F. In the dialog box, write what you look for. You can search in the filenames, EXIF data, IPTC data or comments. You can also change the directory. After you decided what to look for, press Start search. Select a file from the results list and press Show in Viewer.
How to send images with email using IrfanView
To send an image with email, you need to first install the email plugin from the IrfanView website.
1. Once you download the plugins installer, open it.
|
|
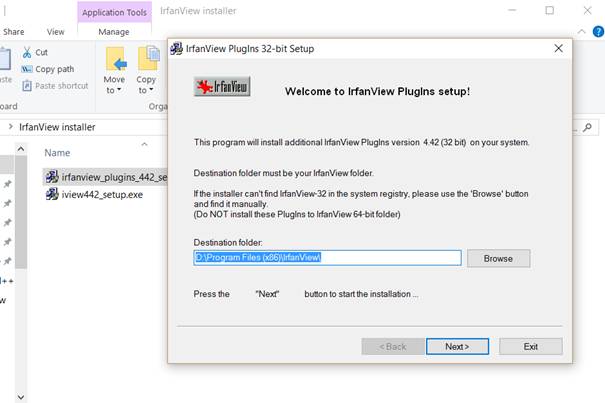
2. Then, make sure the IrfanView directory is correct. Click Next.
|
|
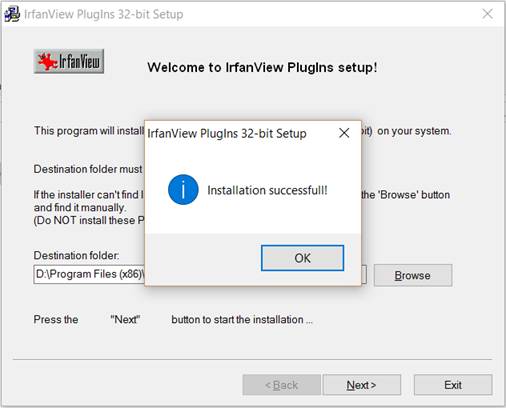
3. The plugins are now installed.
|
|
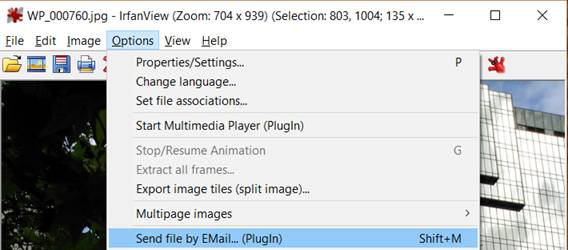
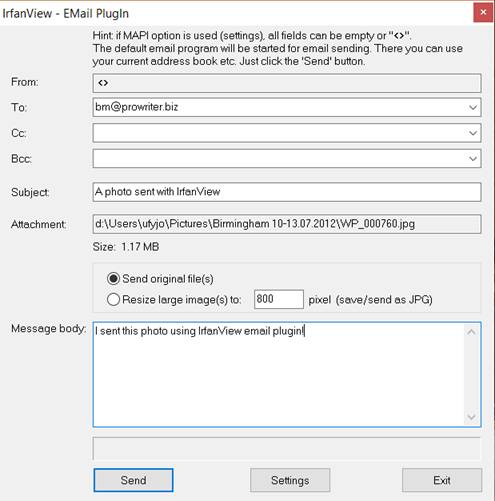
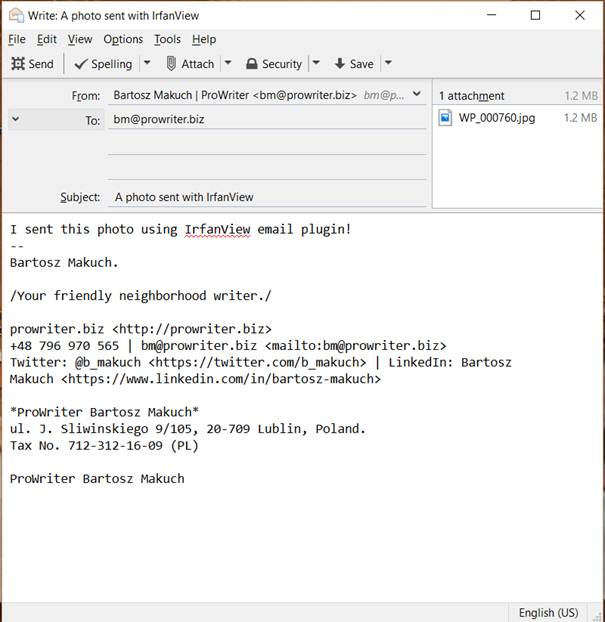
Select Options > Send file by EMail (PlugIn) or press Shift+M. Fill in the form and click Send. Your email manager will open and you just need to click Send again.
How to scan images using IrfanView
If you want to scan images directly to IrfanView:
|
|
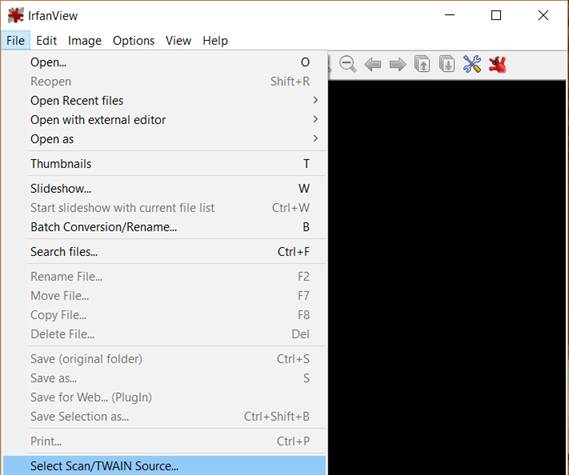
1. First, go to File > Select scan/TWAIN source.
|
|
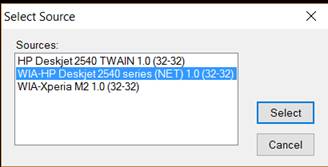
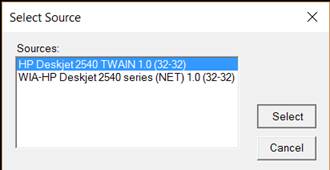
2. Choose the device from the list. Click Select. This time, let’s go with the WIA driver. It works well if you want to scan just one image at a time.
|
|
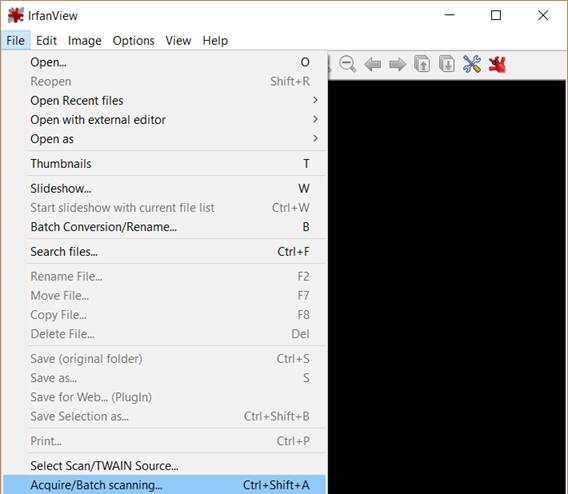
3. Then, go to File >Acquire/Batch scanning (or press Ctrl+Shift+A).
|
|
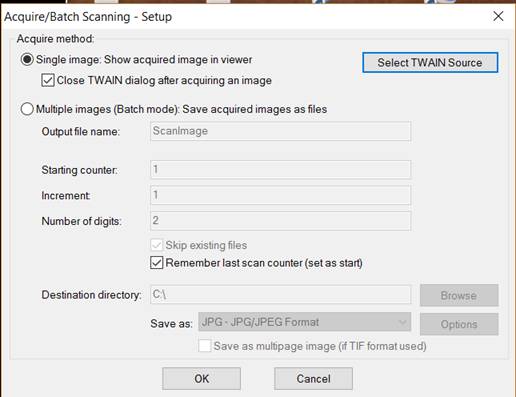
4. In the dialog box, click OK.
|
|
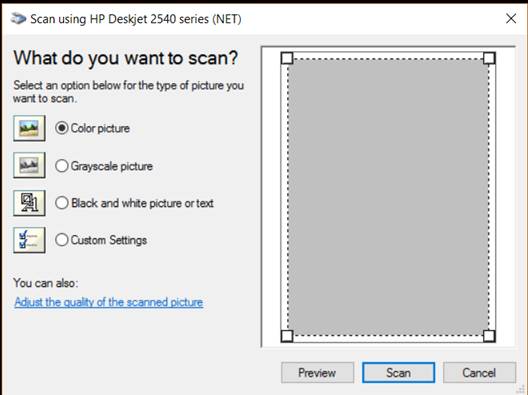
5. A window of your scanner manufacturer’s software will appear. Follow instructions to scan the image.
|
|

6. You can now edit and save your image.
If you want to scan multiple images at once:
1. First, we need to use the TWAIN driver. Go to File > Select scan/TWAIN source and select a TWAIN driver.
|
|
2. Then, go to File >Acquire/Batch scanning (or press Ctrl+Shift+A).
|
|
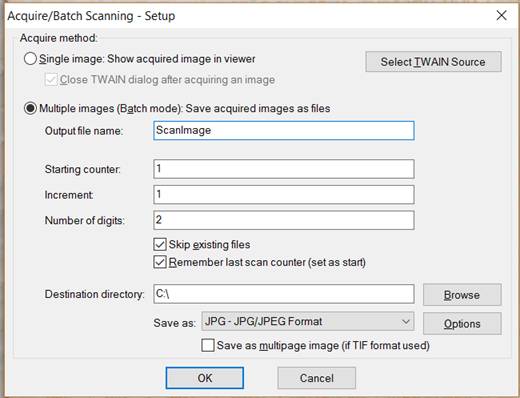
3. Select Multiple images (Batch mode) in the dialog box. You can change filenames and the destination folder. Click OK.
|
|
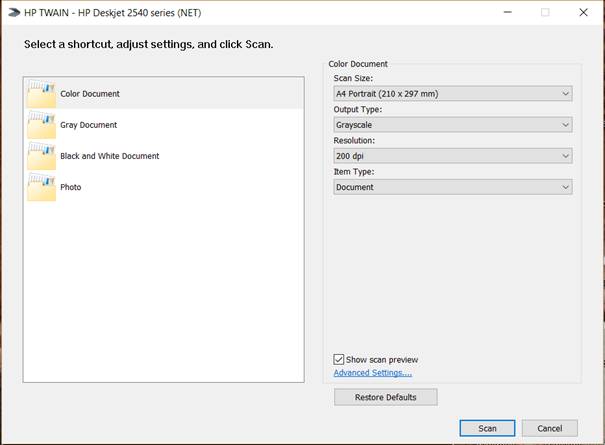
4. Choose image options and click Scan.
|
|
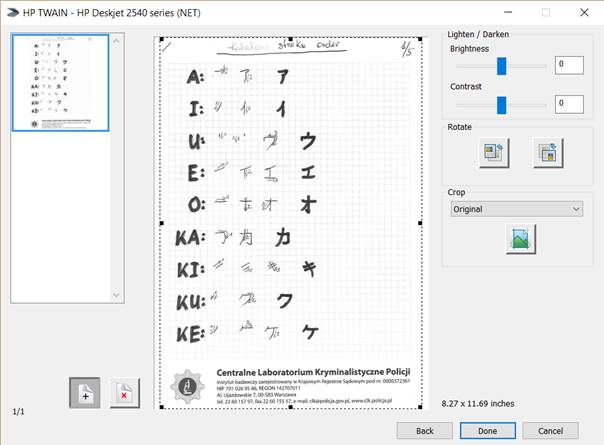
5. Click a plus icon to add pages.
6. When you finish scanning all the pages you need, click Done.
How to print images with IrfanView
|
|
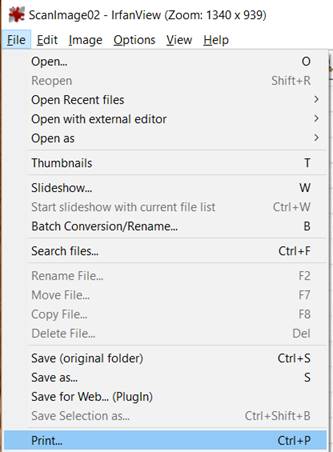
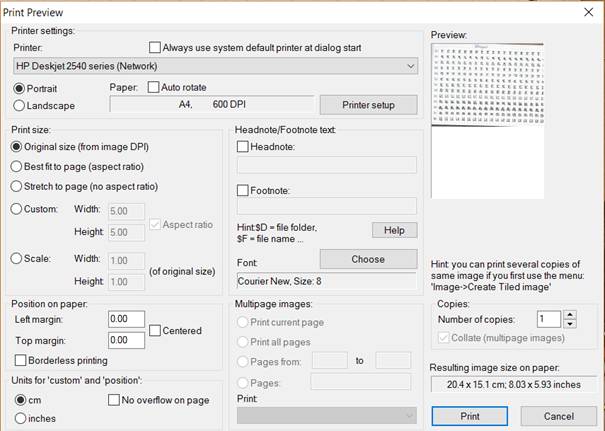
To print an image, go toFile > Print (or press Ctrl+P). You can adjust multiple print settings. To send the job to the printer, just press Print.
How to take screenshots with IrfanView
|
|
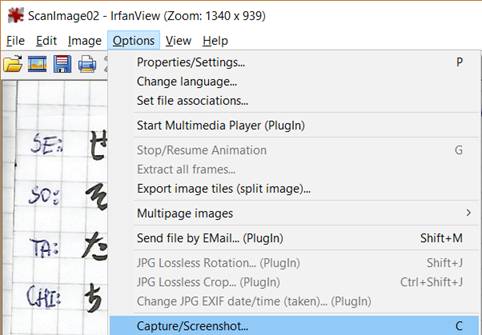
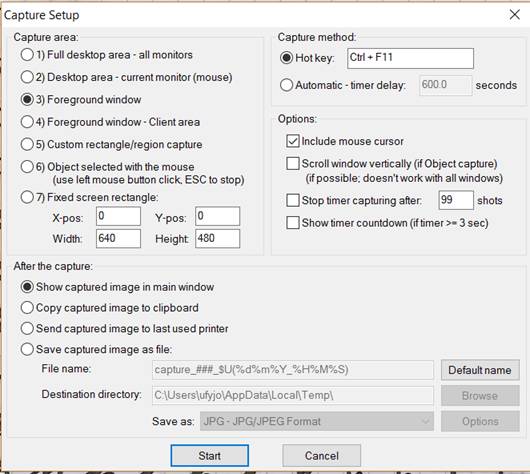
To take screenshots, go to Options > Capture/Screenshots (or press C). You can select a variety of options. When you set everything up, click Start.
|
|

For example, the settings shown above allow you to get screenshots of active windows and include the cursor. You just need to press Ctrl+F11. So, press it when you’re ready.
How to extract an icon from anexe or dll file with IrfanView
If you want to extract an icon from an exe or dll file:
|
|
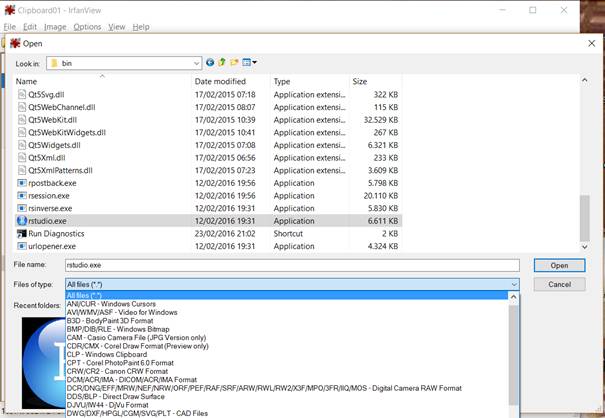
1. First,select All files (*.*) from the Files of type list in the Open dialog box.
2. Then, select the file you want to extract an icon from and click Open.
|
|
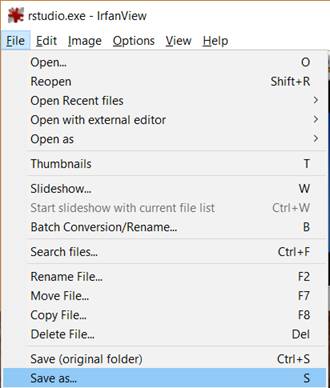

3. You can now safely save the icon to the format of your choice. Just go to File > Save as… (or just press S) and then select the directory and format of the icon. Click Save.
How to change IrfanView’s toolbar icons
|
|

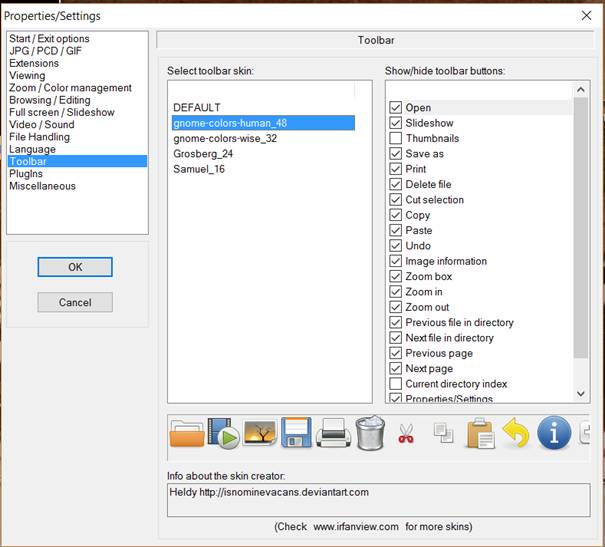

To change the look of IrfanView’s toolbar, go to Options > Properties/Settings (or press P). Select Toolbar and then select the skin you like most. Click OK. You can preview and download more skins from the IrfanView’s homepage.
How to manage which types of files IrfanView opens
|
|

You can manage which types of files IrfanView will open when you double-click on them in the Windows Explorer when you go to the Properties/Settings window and select the Extensions tab. NOTE: you must start IrfanView in ADMIN mode if you want to change file associations (use right mouse button click on IrfanView to start it in Admin mode).
What’s more?
So, there you have it. That’s all you need to know to start using IrfanView. To learn more about IrfanView’s options you can check out our guide to image editing.